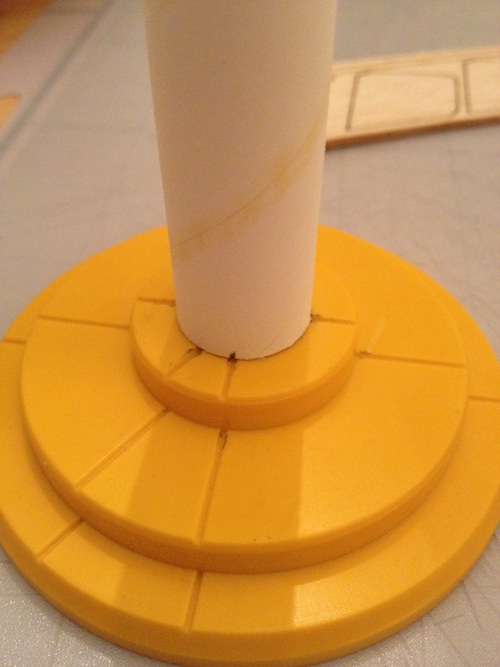
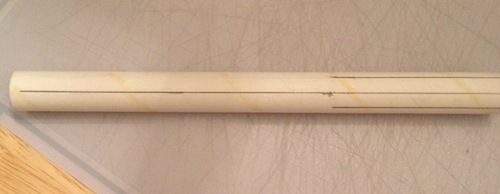
After assembling the motor mounts, the next step is to mark the body tubes for the fins and launch lugs. The Estes marking guides make this easy – once you’ve decided which end of the body tube is the bottom 
The v-shaped plastic widget is then used to draw the lines on the tubes:
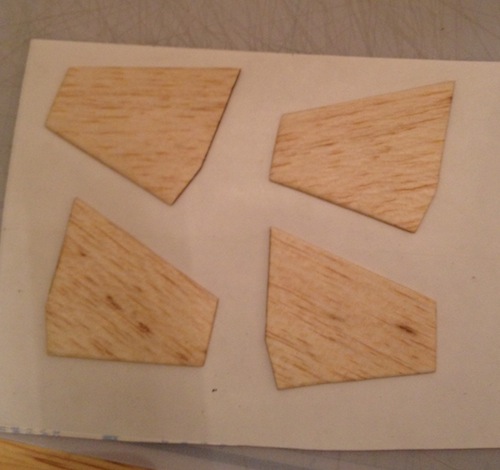
Before I started attaching the fins to the Aero-Hi tube, I pulled out my box of Avery full sheet labels to start laminating the Rogue fins. Once again, this is simple – cut the sheet to size and press the fins down on the label paper, making sure there are no bubbles. I then placed a sheet of wax paper over the fins and let them sit under a stack of books overnight to make sure the adhesive ‘sticks’ well. Then trace around the fin with a sharp hobby knife and repeat for the other side.
Fin attachment is one of the hardest parts of rocket building for newbies (It sure was for my 10 year old self) – it needn’t be. All you have to do is to remember to use the ‘double glue’ technique, which is spelled out in the Handbook of Model Rocketry:
“…when gluing porous materials such as paper or wood you coat both surfaces with a layer of glue or bonding agent and let both surfaces dry. Then coat both surfaces again and join them together. The first coat of glue on both surfaces penetrates the pores of the material. The second glue coat is then free to join with the first coat and with the second coat on the other surface. A double glue joint will be so strong that the materials will break or tear before the glue joint turns loose.“
If you follow the above, you will find that the fin will grab the body tube almost instantly with the second coat, eliminating the frustrating “the darn fin fell off” situation. The strength part is also correct; I have had fins break, but never come loose from the body tube since I have used double glue joints.
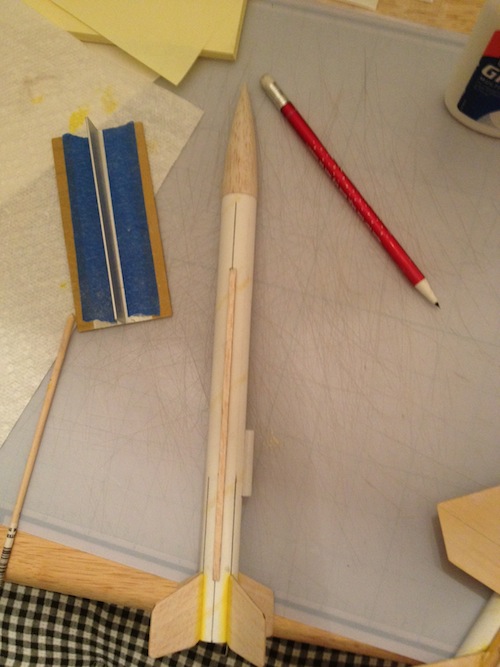
It is now pretty easy to attach the fins, launch lug, and simulated conduit to the Aero-Hi:
After letting the fins dry overnight, I applied fillets of wood glue. Wood glue shrinks (as does white glue), so I use my finger to apply 3 successive glue layers to make the fillet, allowing a little time to dry between layers. This results in very nice and smooth fillets. I then did the same for the launch lug.


No comments:
Post a Comment