Tuesday, September 30, 2014

Starting a rocket build

While I very much enjoy building current kits, my real passion is perusing old catalogs and plans so that I can build the rockets that were available when I was a young geek (40 or so years ago – sigh). You can find a lot of the old catalogs here on Ninfinger’s site, and the instructions/plans are often available at JimZ’s Rocket Plans or, if he doesn’t have them, Ye Olde Rocket Plans. What you DO NOT want to do (unless you are a collector with serious bucks) is to spend a couple of hundred dollars on eBay for a kit you can easily clone for about $15.
A while ago, I was looking at the Estes 1973 catalog and ran across this page:
I have cloned the two in the middle (Little John and Wolverine) already, and the two on the far left – the Aero-Hi and Rogue – struck my fancy. I especially like the sounding rocket style and color scheme on the Aero-Hi. I now had the idea for my next build project, so what came next? In this case, I invoked Rule 1 from Part 1 of this series, and think about the build:
  1. Are the instructions and parts list available? Yep – JimZ’s site has the plans for the Rogue and Ye Olde Rocket Plans has them for the Aero-Hi.
  2. Are the parts available? Again, yes. Go to the Semroc web site – my absolute favorite rocket vendor, btw – and click on The Classics image near the top right. Searching the list for the Aero-Hi and Rogue shows that Semroc has all the parts I need, including laser-cut fin sets (Yay!). No decals, but a quick check of the Excelsior Rocketry web site indicates that he has them – the Rogue, Little John, and Aero-Hi are all on the same sheet, saving me from having to buy 2 sets of decals.
  3. Do I have some or all of the parts? In this case, yes, including the Excelsior decals, which I purchased when I cloned the Little John.
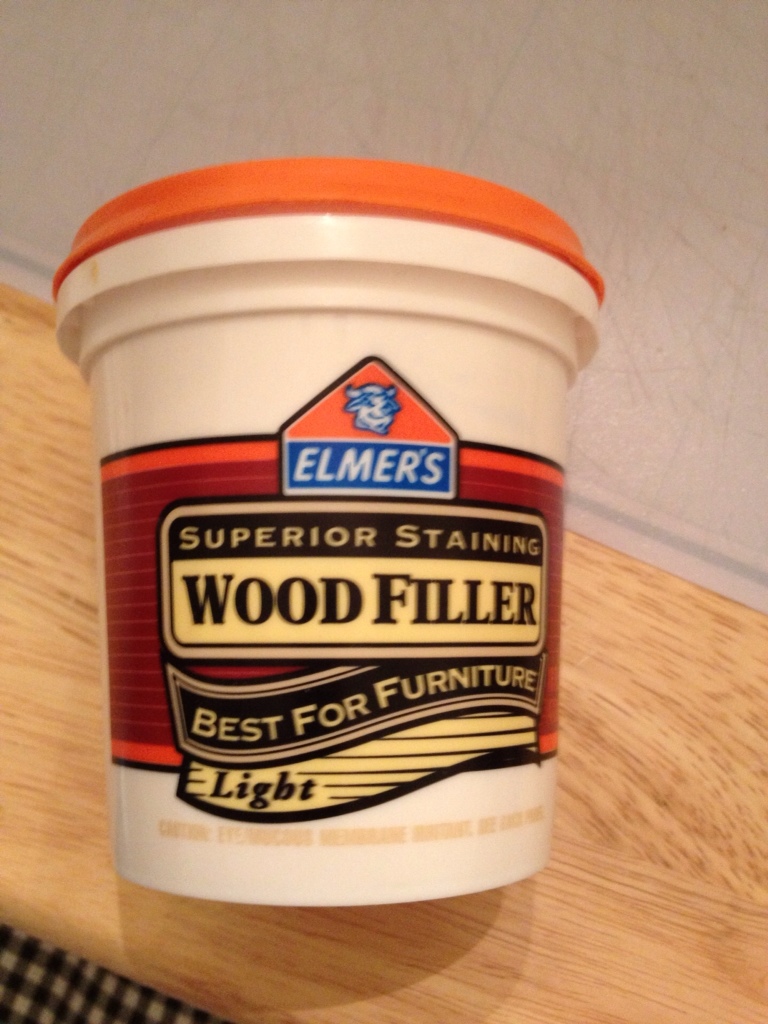
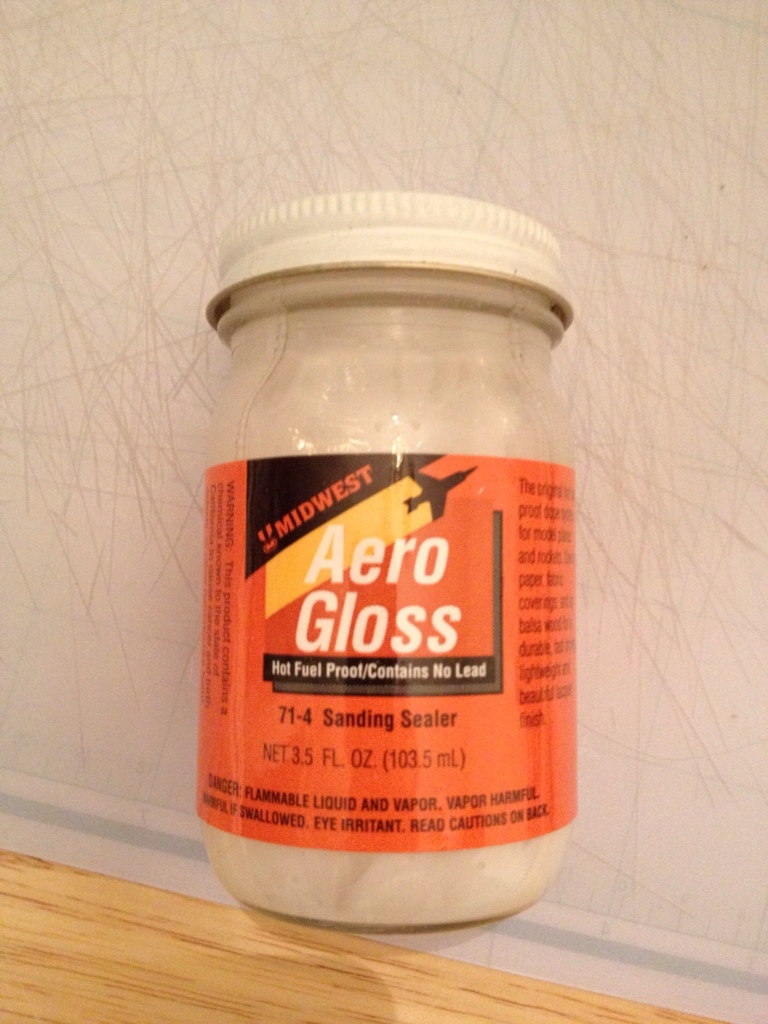
  4. Any gotchas in the builds? Pretty straight forward 4FNC (4 fins and a nose cone) construction, with tri-color paint jobs. However, I did notice that the Rogue fins are of thin 1/16″ balsa, which have a tendency to warp when you apply sanding sealer or water-thinned Fill N Finish. Best to paper laminate them, which will solve the warping issue, and add a lot of strength to the fins.
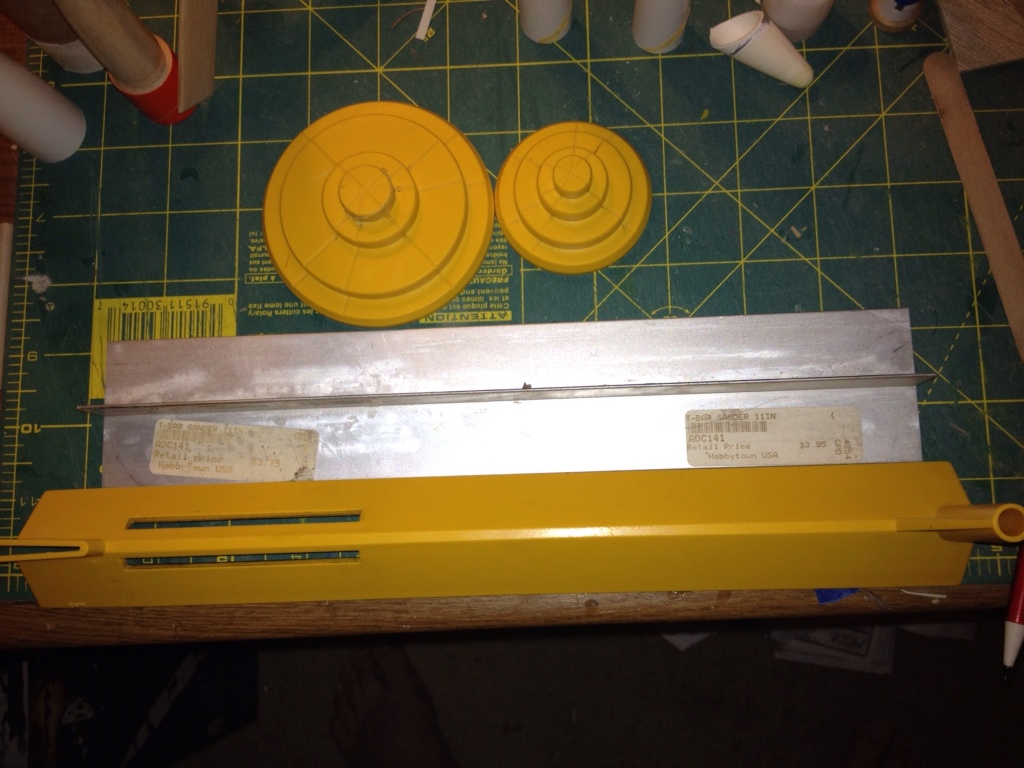
The next steps are to print out the instructions and to gather the parts from my various bins and boxes. Shown below are the components of the Aero-Hi; you can see that I have already applied Fill N Finish (mentioned in Part 2 of this series) to the body tube seams. The old brown-colored Estes/Centuri tubes have little in the way of spirals and often require no filling; however, the new white tubes often have deep spirals, which easily show in the painted model unless filled.
 The 1st step in the instructions for both rockets call for assembling the 13 mm motor mount, which I followed, EXCEPT for cutting small notches in the forward centering rings. The BT-20 main tube is rather small in diameter, and I like to have as much room for the parachute as possible. So I am opting to forego the standard Estes tri-fold paper shock cord  mount in favor of the Quest-style mount, in which thin 100# kevlar flame resistant (but not flame proof) thread is tied around the motor mount tube and passed through the notch in the centering ring. The shock cord is then tied to the thread (see image below). An important point is that the kevlar thread should not be so long as to stick out of the body tube, else the stress of ejection could result in a “zipper”, in which the thread cuts down through the body tube like a knife.
Body tube spirals filled, motor mounts assembled. We will continue on in Part 4…

Sunday, September 28, 2014

More stuff I use to build rockets...

Continuing on with tools…
  • Alignment guides – In my last post, I mentioned alignment marks for fins, launch lugs, etc. When you build a kit, it usually has an alignment guide printed in the instructions which is to be cut out and wrapped around the body tube. For unusual designs like the Estes Interceptor, you still should do this; however, for most LPR rockets there are other ways. You can print out your own fin wrap by using online tools, such as those at Payload Bay. Or you can spend few bucks to buy a fin alignment guide set from Estes, which contains the yellow parts in the pic below:
The set has a long v-shaped piece of plastic (bottom of image), which can be used to draw fin lines on BT-50 and smaller tubes. For larger diameter tubes, I prefer the aluminum T-shape above it – you can use it to draw nice straight lines down the body tube, which beats the heck out of the “use a door frame” method mentioned in the old kit instructions. The circular plastic pieces are used to place fin marks at the bottom of the tube; just pick the one that fits and draw the marks above the lines in the plastic. Works great with 3 and 4 finned rockets!
  • Filler – For filling tube spirals, you can’t do much better than Elmer’s Fill N Finish (shown above), available at hardware stores or online. Mix it with water until you have the consistency of mustard, and apply it with a brush to the spirals. Let it dry a few hours, sand the tube with 320 grit, et voila! No more seams. You can also use it to fill the grain on balsa nose cones and fins, but I don’t use it much for this purpose as it does not harden the balsa the way sanding sealer does. I DO use it often to fix dings in balsa parts and fill gaps – can’t live without it! Fill N Finish is non-toxic and cleans up with just water, so it is good to use with kiddos around.
  • Sealer – This is the old school and stinky way to fill balsa grain. Shown below is Aero Gloss Sanding Sealer, available at local and online hobby shops. Multiple coats (4 or 5) applied with a brush to the fins or nose cone will give you a hard balsa surface with a smooth plastic-like finish unachievable by other methods. However, the fumes will kill ya, so use in a well ventilated room or outdoors. Not safe for the kids or around the wife, who will unleash heck upon you for stinkin’ up her house!
  • Masking tape – Most paint schemes call for different colors on the various parts of the rocket, which means masking. Here, the choice of tape is all-important to get nice sharp lines and avoid bleeds. You do NOT want to use the blue 3M tape shown below; it was designed for house painters, not rocket builders, and makes for terrible bleeds. Some folks swear by Scotch transparent tape and have good results, provided they spray an additional coat of the base color after masking and before the final color (this helps seal the tape edges, avoiding bleeds). I use the Tamiya yellow tape at the top of the pic – it comes in different widths, conforms well to the surface, and adheres nicely. Much more expensive than Scotch tape, it is also very forgiving; I have never had a bleed using this stuff.


  • Paint – Pretty much a personal choice. I use Industrial Krylon (a laquer based paint) because it is resistant to running, dries quickly, and you can recoat anytime. Others use Rustoleum or enamels, though the latter take a LONG time to dry. Still others forego the rattle can to get spectacular results through airbrushing.

Friday, September 26, 2014

The way I build rockets - Part 1

(This was on my old blog, but I thought some might find it useful. Besides, I should have it posted here somewhere)
As time has moved along, I have gotten better at building rockets – at least in the sense of finishing and making them look good. I have gone from the classic 10 foot rocket (“rocket looks good from 10 feet away”) to 3 foot rockets, and even the occasional one foot rocket. It is a learning process, accomplished mainly through trail and error and reading the online forums (Ye Olde Rocket Forum) and blogs (Model Rocket Building by Chris Michielssen). However, the joy in turning a cardboard tube and some balsa into a flying, eye-catching rocket is a major high for me, and I’m sure you’ll like it too!
Clone of the Estes Scamp
Before I start discussing tools, there are a couple of things you absolutely need to turn out a decent model:
  • Think about the build – Even when building a kit, you need to think about how you will get to the end product. Does the body tube have spiral seams that need filling? Does it have tube fins, pods, or hard-to-get-at surfaces that may require finishing and painting before they are attached? Do you wish to replace the shock cord mount with another like the “Quest type” to free up more space for the parachute or streamer? The answers to these and other questions will determine how you proceed with the build, so it is good to resolve them up front before you are faced with a gotcha.
  • Have patience – Nothing good ever comes from rushing a model build; in fact, my biggest mistakes have come when trying to hurry a model for a launch or trying to get it finished and painted before a rain front moves in. Allow plenty of time, especially for finishing and painting, which takes far longer than the building for most LPR birds. The sun will return and there is always another launch, so don’t pressure yourself.
Building a rocket requires the right tools. Here are the ones I use, in no particular order:
  • Glue – Aileen’s Original Tacky Glue is what I use to attach fins; it sets up quickly and provides a strong bond. I use wood glue (Titebond) for fin fillets or wood-to-wood joints.
  • Knife – X Acto #1 knife with #11 fine point blades – is there anything else? Blades are cheap, so ensure yours is sharp by replacing it fairly frequently (How often depends on use and materials you cut).
  • Sandpaper – Various grits, all the way from 150 to 2000. I use 150 to shape plywood and dowels, 220-240 to shape basswood and balsa, 320 to smooth fins and body tubes, and 400 for smoothing the finish (sanding paint base coats). 1000/2000 grit is good for removing paint spots and tiny imperfections – you can get these from hobby shops like RC Hobbies here in town or order it online. You will not find anything finer than 400 grit at Home Depot. Have plenty of sandpaper, because you will be doing a LOT of sanding!
  • Sanding blocks – You CAN sand fins and finishes with just sandpaper in your hand, but a sanding block (small wooden block or t-shaped piece of aluminum) gives you a lot more control, especially when you are trying to put angled edges on that scale model or smooth fin surfaces (fingernails can scratch balsa easily). These are also cheap and available online and at hobby/craft stores; you can make wood ones yourself from scrap plywood if you are so inclined.
  • Tack cloths – Once you have done the actual building, you will need to keep the rocket clean while you add primer and paint, as there is some sanding in between coats. Paper towels and soft rags help to some extent, but I have found that they always leave small particles and junk that cause unsightly bumps in the paint. A tack cloth is a sticky piece of cheese cloth that will actually grab the dust and gunk as you wipe the rocket down (see pic at bottom). Available online or at Hobby Lobby or Michaels for a couple of bucks each, they are indispensable for getting a good finish!
  • Rulers – Absolutely, positively essential! I have a couple of plastic ones that I use to make measurements, and a thin metal ruler I use as a knife guide to cut fins, patterns, and decals/markings. Only way I am able to cut a straight line!
These are the basics – I have left out very obvious things like pencils and sharpies used to mark alignment lines, etc. However, a good build requires more than just the basics, especially in marking alignment lines, cutting body tubes, and filling seams and other imperfections. I’ll cover those in part 2…

Sunday, September 21, 2014

Small stuff...

I'm still working on the Viking 7 scale model - it's in paint, but there are imperfections that need fixin'. Today's wind did not allow for any painting, so I hope to catch a day this week for the final coats. Daylight hours are getting fewer and it will not be long before rocket finishing activities like sealing and painting will be confined to the weekends. I have enough trouble seeing in the day, let alone the dark.

I did manage to complete painting the K-53 Stinger in its all white scheme (can you say bland?), and it is now awaiting decals. The Estes Wizard is finished in the purple and white 1980's decor, with a decal provided by Excelsior Rocketry. I hate the modern look - blue with peel n' cuss stickers. This is definitely one time where older looks better…

Modern Estes Wizard.
My Wizard in the 1980's style (click to enlarge).
Following tradition, I started another rocket yesterday - a clone of the Centuri Nova. Its small rear end gives it a different look, and you can build it for either nose or rear ejection. I went conventional, as I like my parachutes to emerge from the rocket's top, not its bottom. Fins were attached during last night's Star Trek ("The Man Trap"), and it will be ready to have the balsa parts sealed this week. Still debating the paint scheme for this one; I will be happy to entertain any suggestions.

I have had several (6) very small Quest rockets (from their Micro Maxx line) lying around for a while - these tiny puppies use small (6 mm diameter, 1" long) motors to propel themselves 50-200 feet into the air. Designed for backyard flying, many do not even have recovery devices, as they are so light weight they gently fall to the ground. Quest quit offering the rockets (outside of starter sets or bulk packs) a while ago, but they still sell the motors; Jim Flis at Fliskits continues to design and sell some pretty nice Micro Maxx kits for those interested. Anyway, Chris Michielssen (author of the Model Rocket Building blog) posted a new launch set, sans motors, on eBay. The price being right, I snagged it up and it arrived in yesterday's mail. Now all I have to do is to get a few Micro Maxx motors and I will be set for a little flying in my apartment building's parking lot. :)

My Micro-Maxx collection (click to enlarge).

Saturday, September 13, 2014

Inventory time...

The TARC season officially begins in September, which gives me a good excuse to inventory my rocket stuff. After all, one must know what one has in order to help out the local rocket teams… and to ensure I have what I need for the start of next year's flying season.

Today was inventory day for the conventional black powder (Estes and Quest) motors. I hauled out the stash, dumped things unceremoniously on the floor, and started sorting. 3 hours later, I have the count - 552 usable bp motors (this does not include the archaic "old as the hills" motors I have from the Stone Age - kinda afraid to risk a rocket with one of those). The nice thing about doing an inventory is that not only do find out what you need (A10-3T's and D12-3's), but you also discover what you do not need (A8-3's). I have 122 - that's right, 122 - stinking A8-3 motors! In my defense, I did not buy this many; whenever folks give me rocket gear, it usually includes a few A8-3's. Since the A8-3 is a bit underpowered for most rockets I don't use them often, so they stay in the stash and accumulate like Tribbles (well, maybe not that extreme). In brief, the A8-3 is boring.

Fortunately, we have the return of Rocket City Blast Off this October. Maybe I can give away a bunch to members of the public who want to fly their rockets but have no more motors. This is plan A for reducing the tally. Plan B involves a lot of flights of an Estes Cobra or Ranger, a Semroc Goliath, or some other 3 18 mm motor cluster rocket. 40 flights, and I will have depleted the backlog. Should take about 3 years, during which time, I will have received another 100 or so A8-3's :/

No Mas!
I just gotta say no when someone offers me that motor.

I also put in a little work on some rockets today - the Viking 7 scale model is in primer, the Wizard has its base coat of white paint, and I am going to attach the fins to the #1905 Estes Stinger tonight. The K-53 Stinger clone is built, awaiting filling and sealing of the balsa surfaces.

Sunday, September 7, 2014

A case of mistaken identity...

Estes, the largest model rocket manufacturer, has been producing kits for decades, all the way back to the first years of the 1960's. A lot of kits have been released over these many years, some of which have been assigned names belonging to previous releases no longer in production at the time of the kit design. As a result, we have a couple of Renegades (very sad; the current "Renegade" is a monstrosity compared to the sleek red and black beauty of the 70's), Yellow Jackets, X-rays, and quite a few Sizzilers, to name just a few. This state of affairs presents no problems to a rocket newbie, but can create cloning/parts issues to a rocket geezer like myself. It forces us to have to do some research when ordering parts like laser cut fins, or we can easily end up with a set or piece belonging to the other model(s). This has happened to me, and it is about to be set right.

Some time ago, I received from a friend a bunch of old rocket kits owned by an educator who was very much into rockets before he passed away. There were some real gems in this collection - an original Estes Trident in near mint condition, a couple of older Big Berthas, several Solar Launch Controllers, and a few other goodies. There were also some kits in very bad shape - crushed fins and body tubes. Among these were a couple of Estes Icarus and Stinger kits. Dating from the 1980's, they looked like they had been sat upon by the namesake of the Big Bertha; little else but the nose cones, centering rings, and engine hooks were salvageable. Not a problem - my favorite rocket company, Semroc, had the fins and body tubes in stock. I placed an order for the parts, and a short time later, an Icarus rose from the ashes.

Not true for the Stinger.

The Semroc fin set perplexed me, as it looked nothing like the fins of the rocket in the kit art or in the catalog. The Stinger in the 1983 catalog had traditional swept fins with pointy ends; the ones from Semroc had a steeper sweep, and the back tips were cut flat, like on the upper stage of the Estes Midget. Not like Carl at Semroc to make a mistake, so what was going on?

#1905 Stinger in Estes 1983 catalog (click to enlarge).
Turns out I should have done some Googling before making my order, as a quick search ended the confusion. There was a Stinger kit by Estes which went out of production a decade before the #1905 Stinger appeared in 1983. This Stinger, #K-53, was never featured in any Estes catalog and was given out to customers who made an order over $5.00 from 1970 to 1973. A freebie, to thank folks for their business. I did order some things by mail from Estes back then, but they were $1-2 affairs for things I could not find at A&M Toy Store or Eastgate Hobbies - both these places were well stocked with kits and a fair number of parts. That's why I was unaware of the K-53 Stinger. I took a look at the instructions for that kit online and the Semroc fins were a perfect match to the fin pattern.
Kit art for the Estes K-53 Stinger (click to enlarge).
Mystery solved. The fin set was stashed away for a future build. This was 2 years ago (I think).

This weekend, a post on Ye Olde Rocket Forum jogged my memory of this incident, and being in the mood for something simple to go along with the Rocketarium Viking 7 build, I pulled out the parts and started to build the forgotten ancestor of the #1905 Stinger. It's a skinny, ungainly looking rocket, but the fact that it was not in any catalog gives it an aura of uniqueness. 

I think I will also build the 1983 model. It will mean hand cutting the fins, but hey, I should be able to handle cutting a few straight lines by using my trusty metal ruler and hobby knife (adds bandaids to iPhone grocery list). The contrast between the two models will be interesting.